DilogR integrates with several leading platforms. In this training course, we’ll be discussing the basics of integrating with Infusionsoft and the most commonly used features.
Setting up your Infusionsoft account within DilogR
To begin setting up your integration, head over to My Account on the top menu bar.

Under the Linked Accounts tab on the left, enter your Infusionsoft username and secret API key to link up your Infusionsoft account with DilogR.
If the URL you use to log into Infusionsoft is dilogr1.infusionsoft.com, then dilogr1 would be your username. To find your Infusionsoft API key, log into Infusionsoft, and go to Admin > Settings > Application. Scroll down to the heading “API” and copy the code next to “Encrypted Key.”
Click SAVE. DilogR and Infusionsoft are now successfully “talking” to each other!
Preparing your project for integration
We’ll assume you’ve already created a quiz or video, so we’re going to jump to the integration of your finished Project.
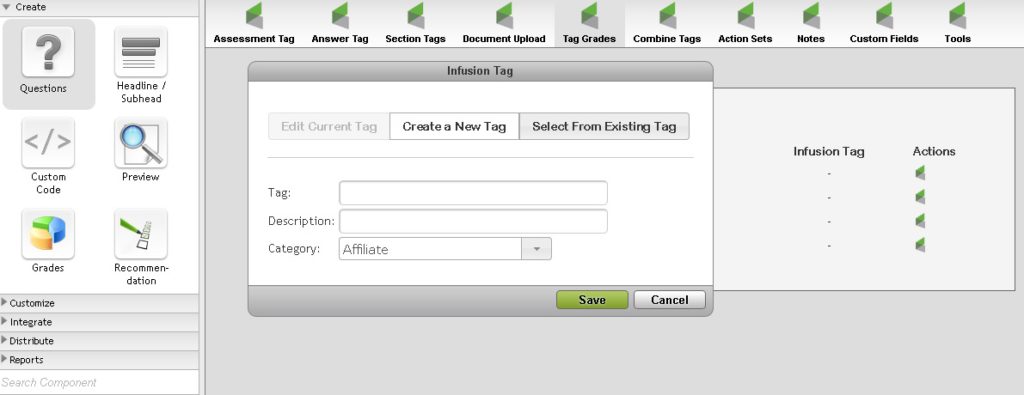
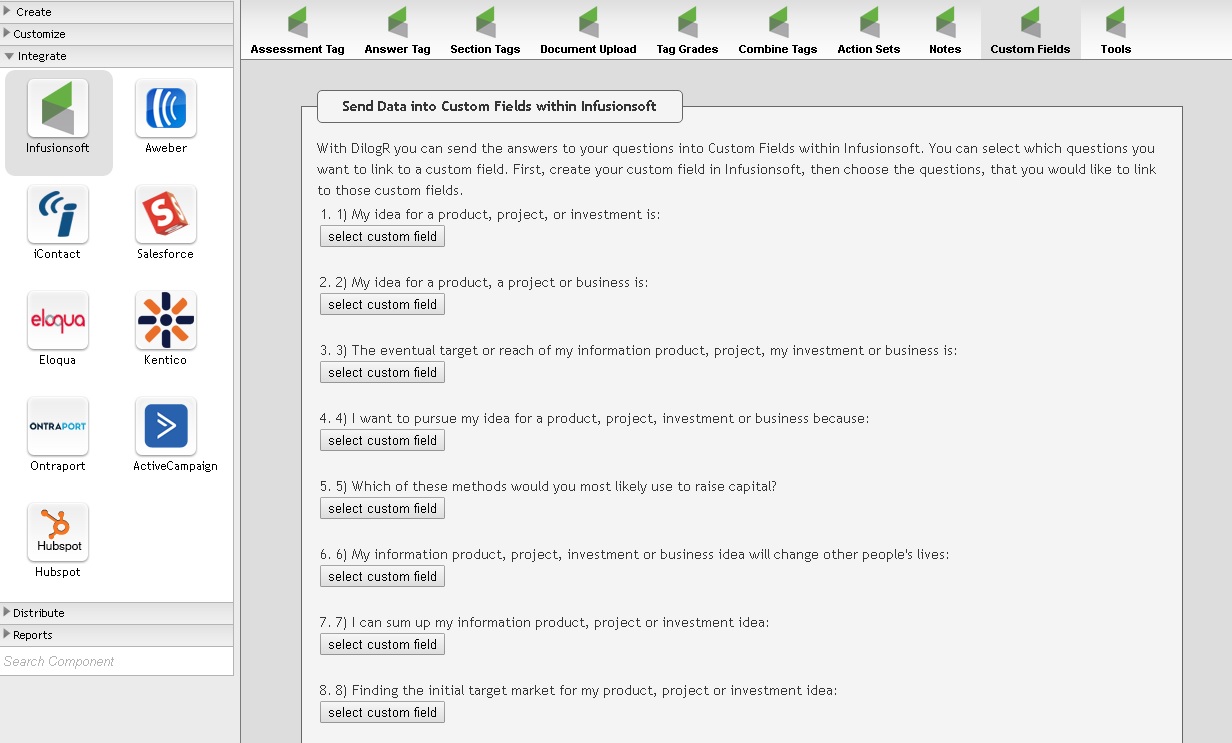
Click on the Infusionsoft icon in the Integrate module. You’ll immediately see the options running across the top: Assessment Tag, Answer Tag, Section Tags, Document Upload, Tag Grades, Combine Tags, Action Sets, Custom Fields, and Tools.

Best practice is to set up your tags in Infusionsoft and have a clear plan as to what is going to be tagged ahead of time.
Sometimes the tags you set up in Infusionsoft don’t show up immediately in DilogR. In case this happens, go to Tools | Options and click Clear Infusion Cache. This will update your tag list in DilogR.
Assessment Tag
If you want to tag someone when they finish your quiz or video, be sure to check the box next to Enable Assessment Tagging. You can then choose to use an existing tag from your Infusionsoft account or create a new Infusionsoft tag. (Remember the tip above about clearing your cache!)
— Answer Tag
Here you can add a new or existing tag to a specific answer choice. You can do this for each answer choice or just one answer per question. You might use this, for example, to pull someone into a campaign that is geared towards a particular answer.

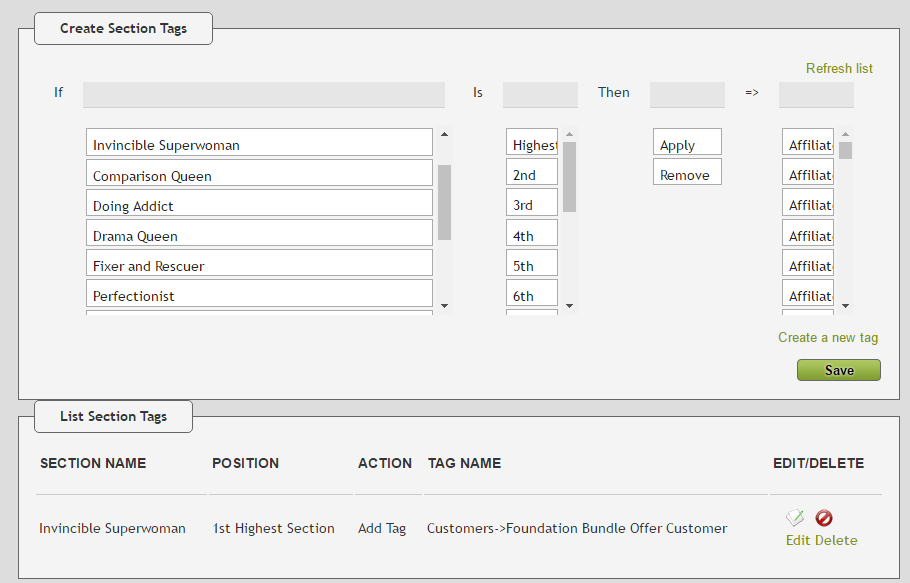
Section Tags
If you have a Project that is divided into Sections — such as Perfectionist, Achievement Junkie, Superwoman — you can apply or remove a tag based on how high someone scored in that particular section. When that tag is applied, it can start a marketing campaign in Infusionsoft Campaign Builder based on that score level.
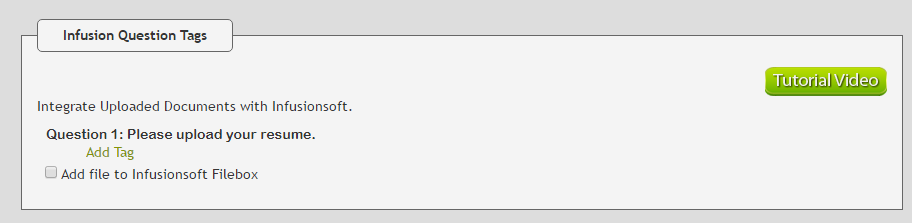
Document Upload
Need the quiz taker to upload a document? If you have previously set up a question using the Question Upload File type, then you will see that question in this option and can add a tag. Checking the box will also send that file into Infusionsoft’s Filebox.
Tag Grades
You can assign tags to different grades or sections (also known as a segment) by clicking on the actions icon on the right hand side of each of the segment names.

For example: If you wanted to tag the “Poor” Grade, you would click on the action icon and choose to either create a new tag or use an existing tag already created in Infusionsoft
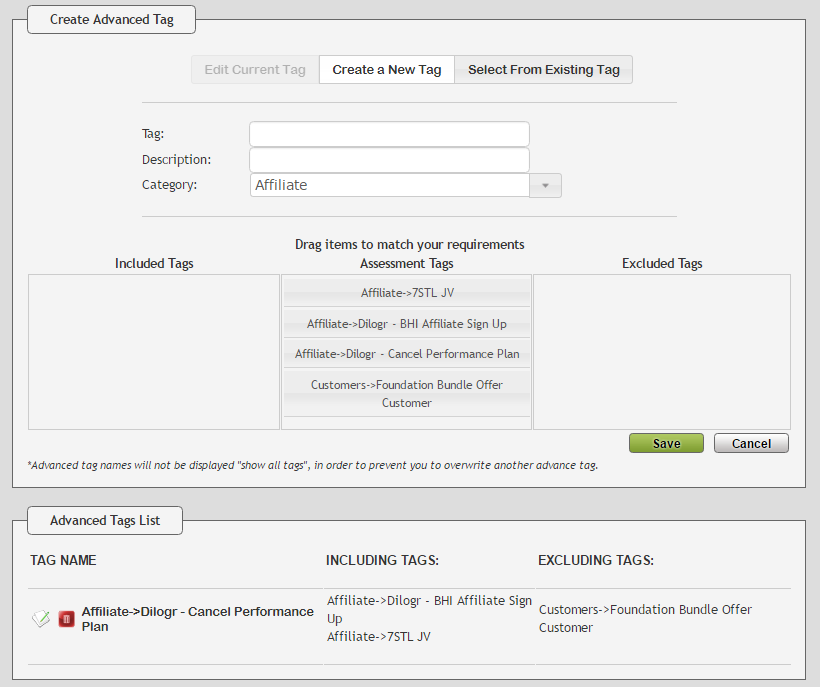
Combine Tags
If you have several tags, you can combine certain ones into another tag. For example, if after taking your quiz someone is tagged with Dizziness, Inflammation, and Headaches, then you can assign them a new tag based on that combination of tags. That new tag can then be used to launch a campaign targeting just that specific set of symptoms. Of if someone has a combination of tags that aren’t right for one campaign, you can tag them with another tag to be used in a decision diamond, removing them from a certain campaign sequence.
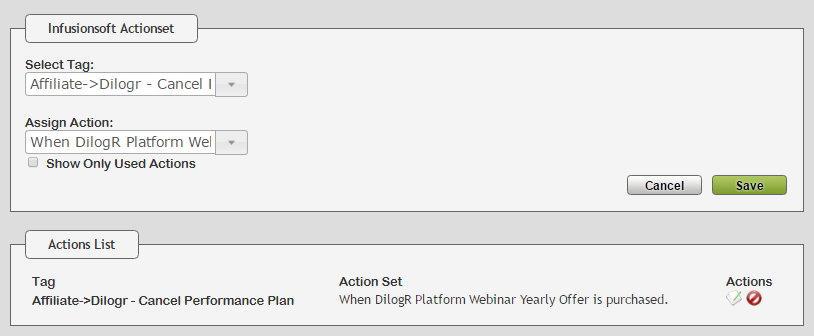
Action Sets
Many Infusionsoft ninjas like to use Infusionsoft’s Legacy feature: Action Sets. This feature will launch an action set inside Infusionsoft based on a tag. Just select a tag from the dropdown menu and then choose an action from the Assign Action dropdown menu and click Save.
Notes
If you want to send the answers to all or some of your questions into a contact record’s Notes, then you’re in the right place. First, give the note a specific title. Then, choose the questions that you would like to send into the note. Be sure to click Save.

Custom Fields
With DilogR, you can send the answers to certain questions into Custom Fields. First, create your custom field in Infusionsoft, then choose the questions that you would like to link to those custom fields. Be sure to click Save.
Tools
The most commonly used option under the Tools feature is to clear your Infusionsoft cache if you have created tags, action sets, custom fields, etc. that aren’t appearing in the DilogR dropdown menu.
You can also reapply tags to all of your projects to make sure they are applied to all of your contact records or search for a specific contact by email or value.

And there you have it — a rundown of DilogR’s most commonly used options when integrating with Infusionsoft!